Community Setup
Steps to configure customer community (NAPILI TEMPLATE)
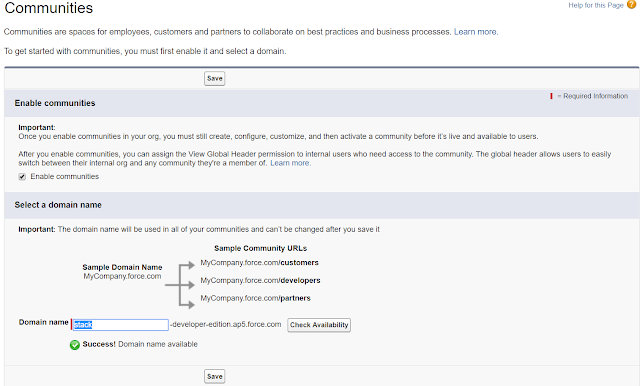
- Step 1 : Login in to Salesforce org. --> Go to setup --> Search for "communities settings" --> To enable community in the Salesforce org. , mark the "Enable communities" checkbox --> provide unique name to your community by selecting domain name (Here we are selecting stack) and click on "check availability" button --> Click on save button if domain name is available --> an alert message will be displayed --> click ok.
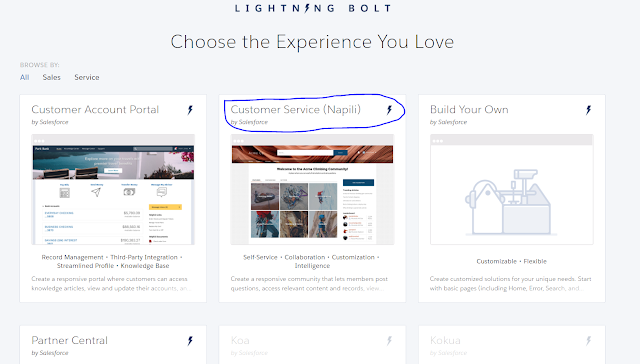
- Step2 : The community has been enabled successfully and you will be navigated to Communities page(You can search this option from setup using "All Communities" keyword). Now you can create a new community by clicking on "New Community" button. Ample of templates are available for community building. We are using "Customer Service (Napili)" which supports visualforce pages as well as Lightning components.
- Step 3 : Click on "Get started" button. After clicking on "Get started" button --> you will be navigated to home page URL selection page.
- Step 4 : Provide the name of the community(Here we are providing "Stack" as a community name). If this is your first community, you can leave the home page URL blank. The base URL will become the home page URL. In case you are having existing communities and you are building another one, you have to provide a unique name to URL for home page( As this is my first community, so I am leaving the name as blank). Click on "Create" button.
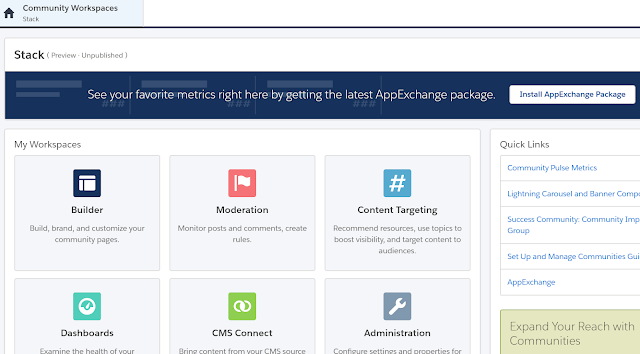
- Step 5 : After clicking on "Create" button, you will be navigated to "Community Workspaces" page. Here you can find all the necessary options to configure you community pages and access permissions.
- Step 6 : Click on "Administration" option from the list of options available in Community workspace. Go to "Settings" option under Administration page. Click on "Activate Community" button to activate your community. An alert will be shown, click ok.
- Step 7 : Now your community has been activated. Now, we have to provide the profile name which can access this community. Go to "Members" option under Administration page. Change the profile search category from "Internal" to "Portal". The list of profiles associated to portal users will be displayed. Select "Customer community user" as a profile. You can also profile the permission set. After selecting members click on "save" button at the bottom.
- Step 8 : Now we have specified the profile which can access this portal. Now the turn is to create a customer user. Exit from community workspace and move back to salesforce classic setup. Go to "Contact" tab. Click on "New Contact" button. Create a new contact.
- Step 9 : After creating contact, "Manage External User" drop down button will be available on the newly created contact record detail page. Click on "Manage External User" button --> Click on "Enable Customer User" button under that. An alert will be shown , click ok. User will be created and password generation mail will be sent.
- Step 10 : After clicking on "Enable Customer User" button, you will be navigated to user creation page. Provide required field values. Select "User License" as "Customer Community" and profile as "Customer Community User".
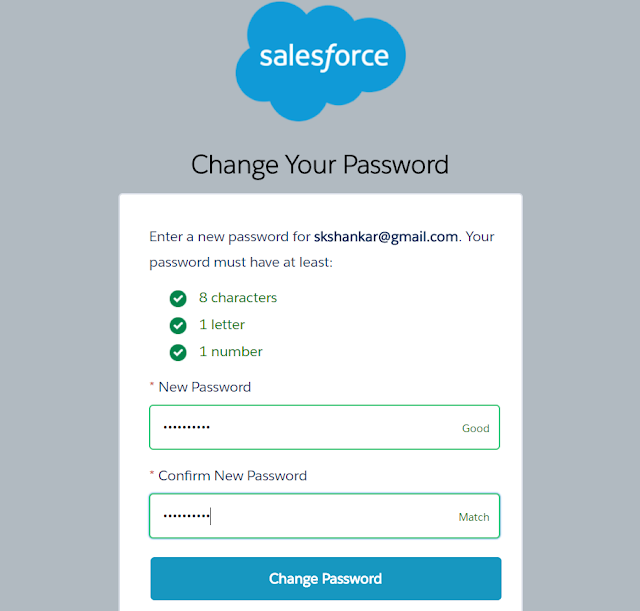
- Step 11 : Open your email which you have provided wile creating user and click on the activation URL specified by your community name. You will be navigated to Salesforce Site. Provide your password for community login. Now the username of the user record will be the username for the community login.
- Now the question is: What will be the URL for my community? Or from where the end user can get into the portal? The answer is : Go to Salesforce Setup --> Search for "All Communities" from quick search box option. Click on "All Communities" option. All the communities created under org will be displayed along with its URL. Click on that URL or provide that URL to your end user to access your portal. Now they can user their username and password to log into system.
- Note : If you received an error "Portal Account Owner Has No Role". This means that the contact's account owner(User) has no role assigned to it.
- Note : Go to you contact's account. Click on the name displayed with label "Account Owner". Open user record (Click on "My Settings" and go to "personal" option then select "Advanced User Details"). Click on "Edit" button. Select any "Role" (Here we have selected "CEO" as a role.). Click on save button. Now create your portal user record with same field values as created in step 10. Now no error will be thrown and user will be created.


No comments:
Post a Comment